Breathing New Life into Our 1960s Hood Vent

If you haven’t read our post about replacing our wall oven and stove top with a new range this is part 2 of that post Transforming Our Kitchen: From Separate Gas Appliances to a Sleek Range
In our latest kitchen renovation, we decided to keep a piece of history—the original 1960s hood vent. Instead of replacing it, we cleaned it up and restored it to its former glory. Here’s how we did it and why we love the final result.
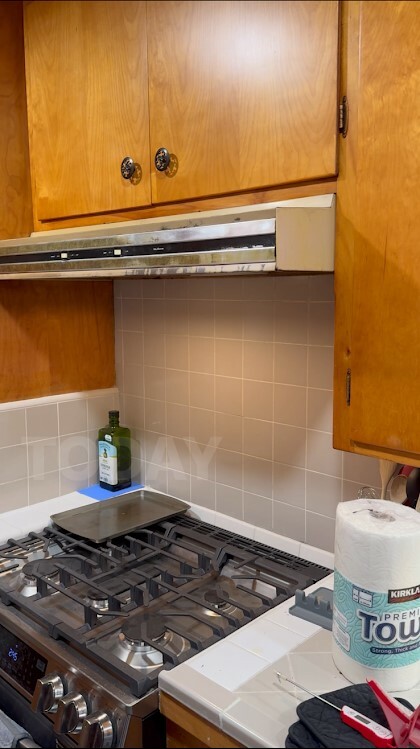
As you can see the hood has seen better days and doing some research on a new hood we found it was going to be really costly to get a new one. Upcycling it is I began by taking down the hood and bringing it into the garage to take it apart and clean it up.
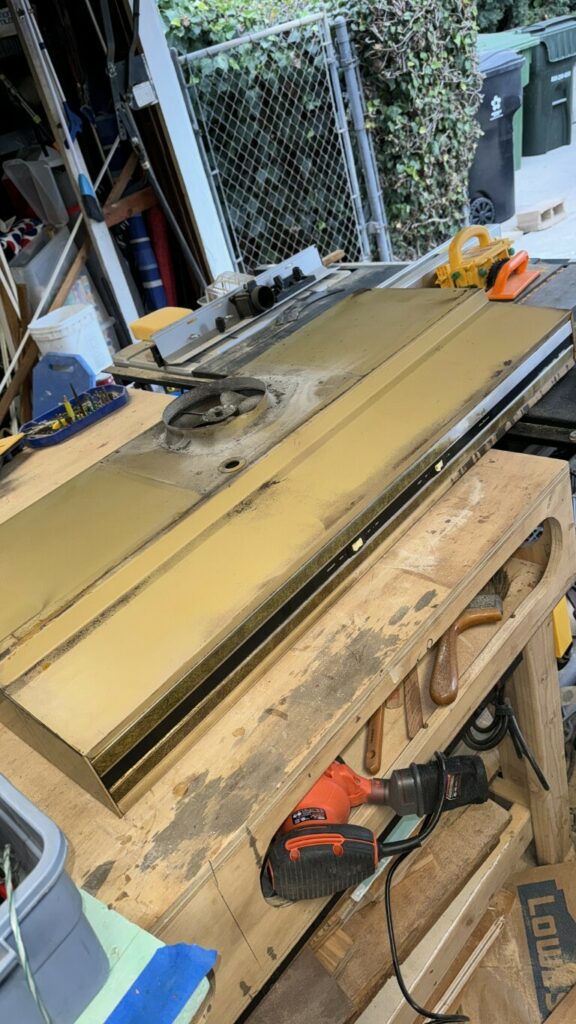
With it now on the workbench I can see I have a lot to do to clean this 1960s hood up before I can put it back where I found it.
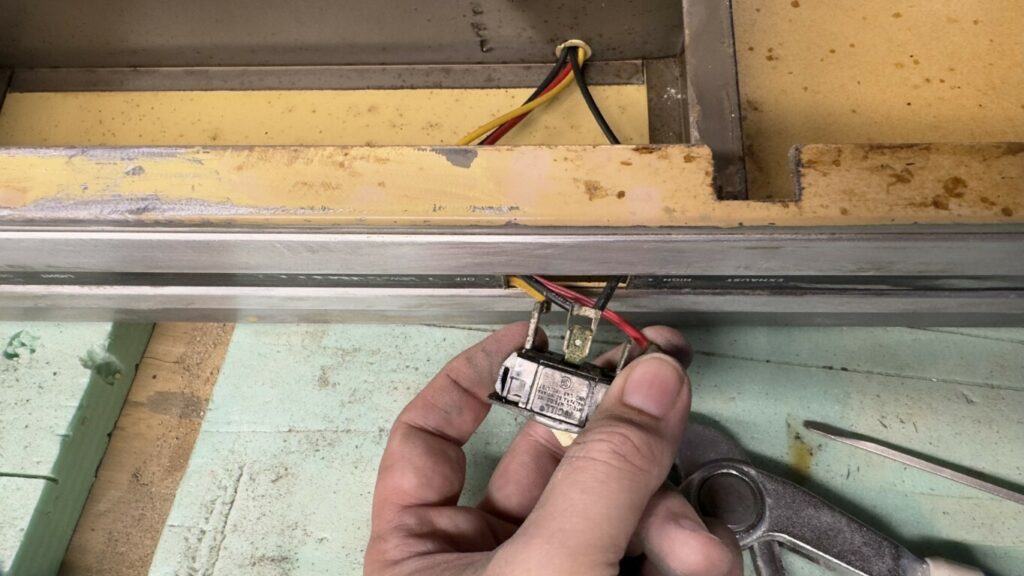
I started out with looking at the wiring, things looked good here and I really didn’t want to change anything out unless there was a like for like part and this worked just fine so I removed it for painting purposes.
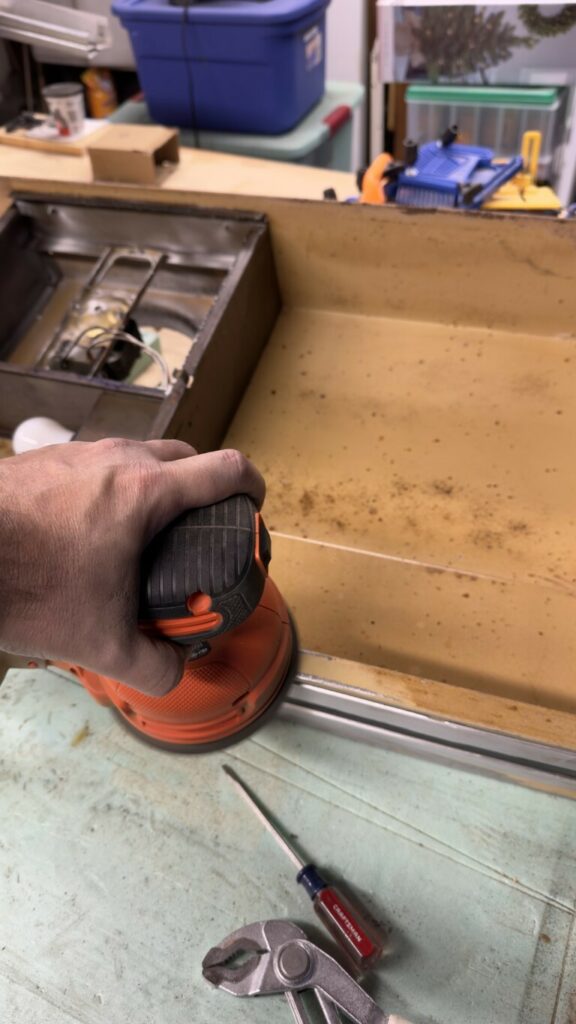
This project took a lot of sanding, cleaning and scraping to get it back to new.
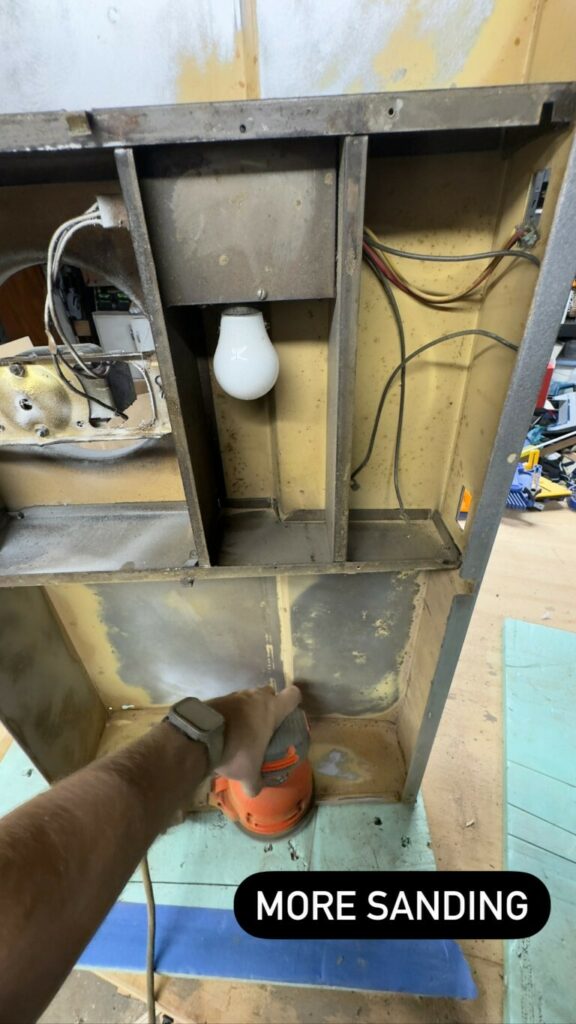
as you can see this needed a lot of work and I’m glad I had plenty of sand paper to get it cleaned up nicely.
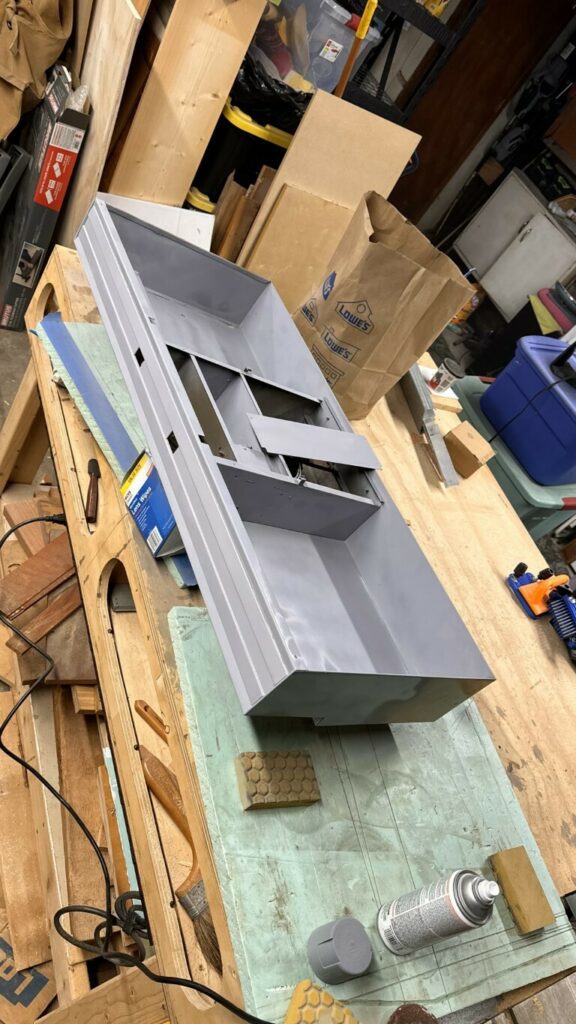
Now that it was sanded I sprayed a few coats of primer on it so the new stainless silver color would shine through. I did about 6 coats of this with various grit sandings to see if I could get this to look nice once it was done.
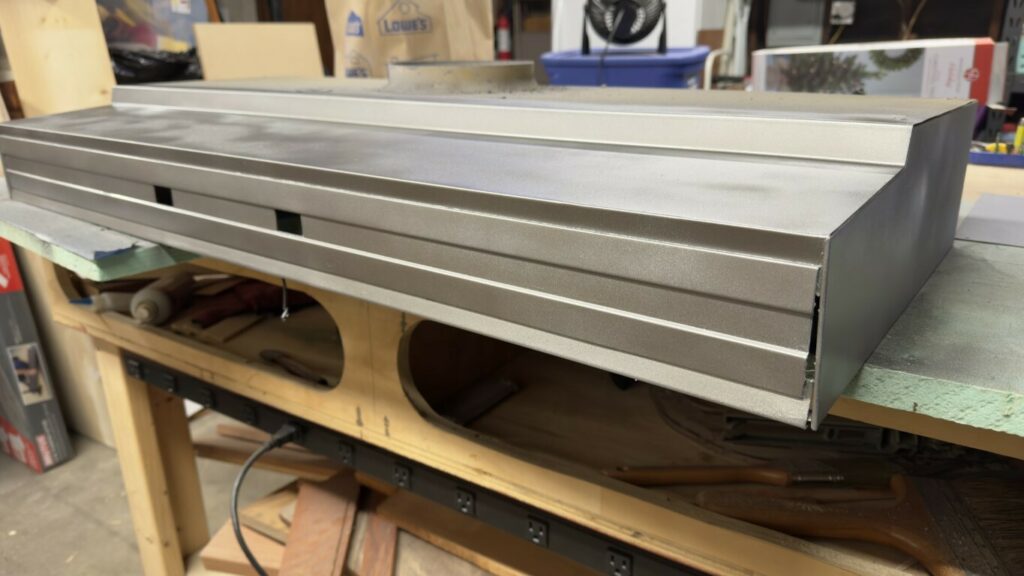
With it sanded I did a few coats of painting with some sanding in between and came up with a decent looking job on this.
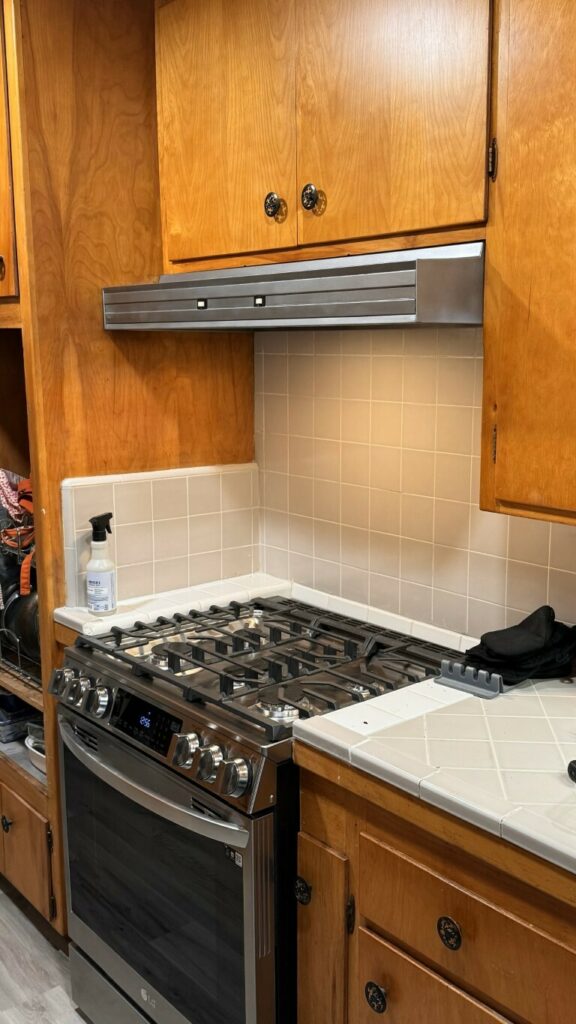
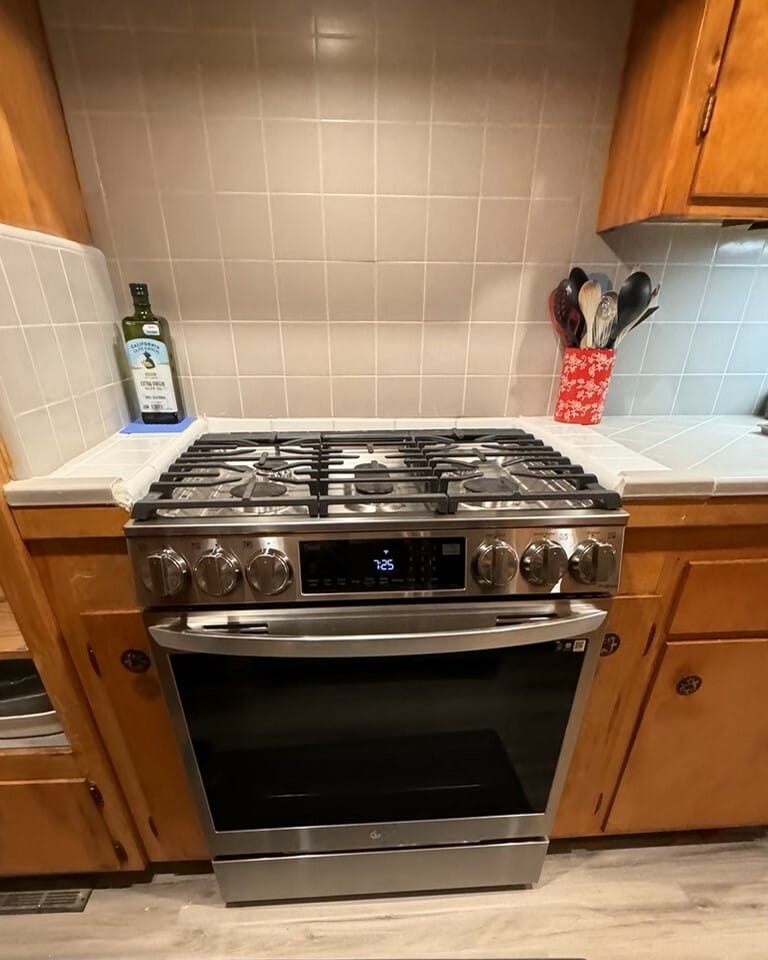
Here is the hood installed over the new range. It’s not perfect but I’m happy with it.