Transforming Our Kitchen: From Separate Gas Appliances to a Sleek Range

Today, I’m excited to share a recent kitchen project where we replaced our gas countertop stove and built-in wall oven with a sleek, new range. Plus, we found a creative way to repurpose the old wall oven space for some much-needed storage. Let’s dive into the details!

Our 1960s kitchen needed not only a facelift but it also needed some functionality changes to make cooking in our kitchen better. We moved from a 1970s apartment which had one of these tiny wall ovens that isn’t big enough for a full size cookie sheet and its a pain to cook with. We also were not happy with the stove top that we had, the burners were weird and were too close together to allow for us to cook multiple things on the stove. We’re not fans of the countertop or the tiled edge but thats for another project. We have a lot to do here so lets get started.
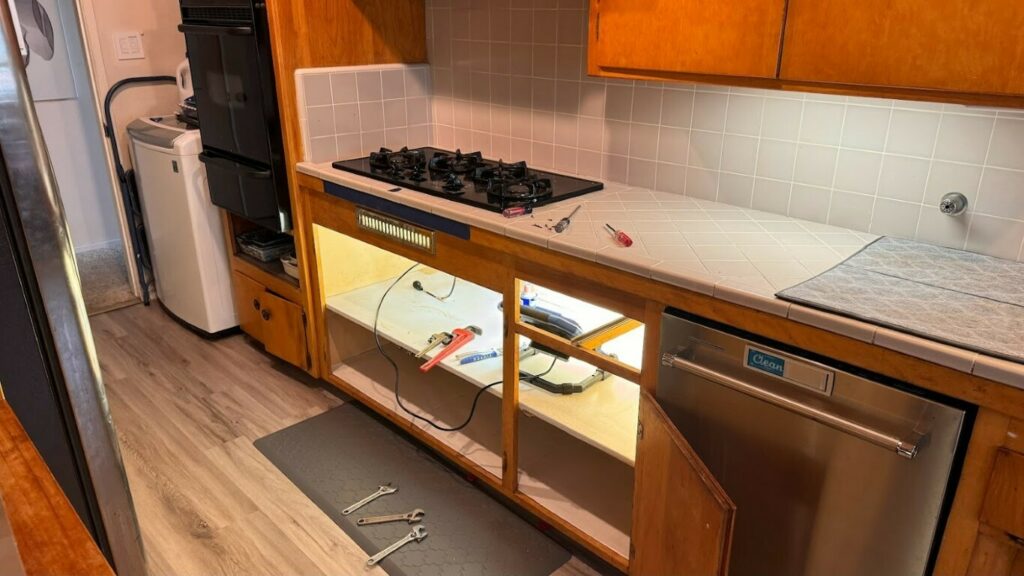
We started out by removing the doors and working out how were were going to be able to replace our stove top with a range, what size the cavity could accept of a range and how tall we were limited to in height. I know these things come in standard sizes but were starting with nothing and needed find what would fit. With the old stove top being gas a the new one gas we just had to hire our friend the plumber to come out and relocate the gas plumbing for us.
We removed the stove top and found that there was existing electrical for the oven which would be handy later for lighting in the space. We also go the idea of maybe putting 2 small baking sheet cabinets on either side of the range would allow us to use this space and give is the structure needed to hold up the shelf on now right cabinet. With this we had out measurements and could go shopping for a new range.
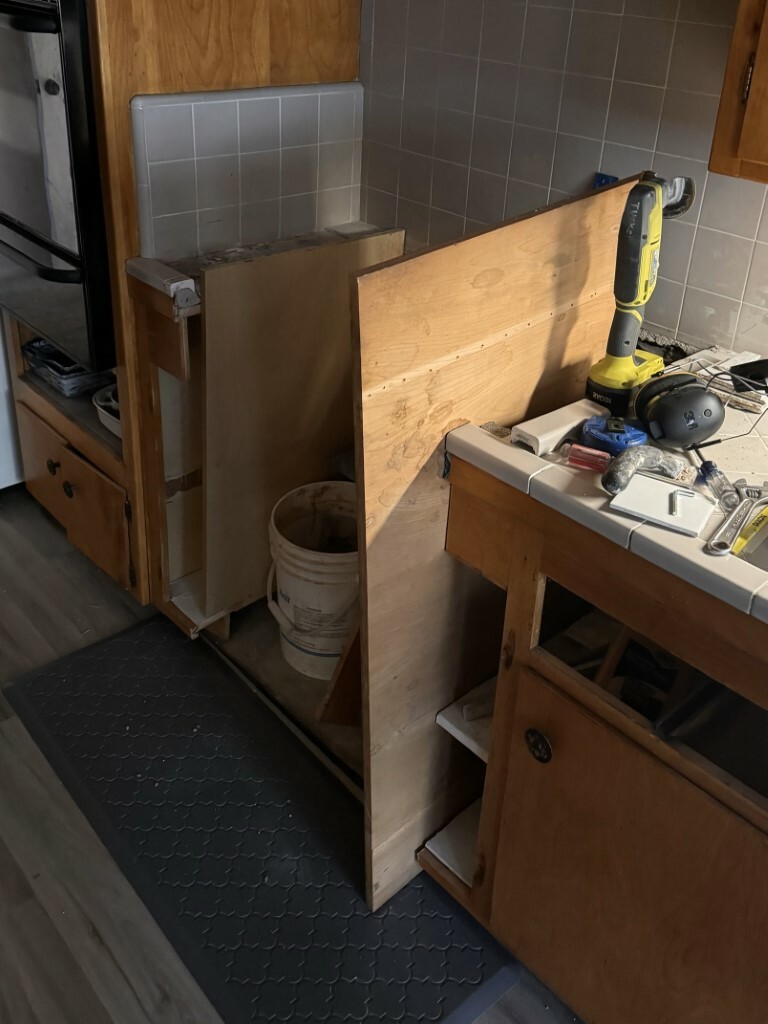
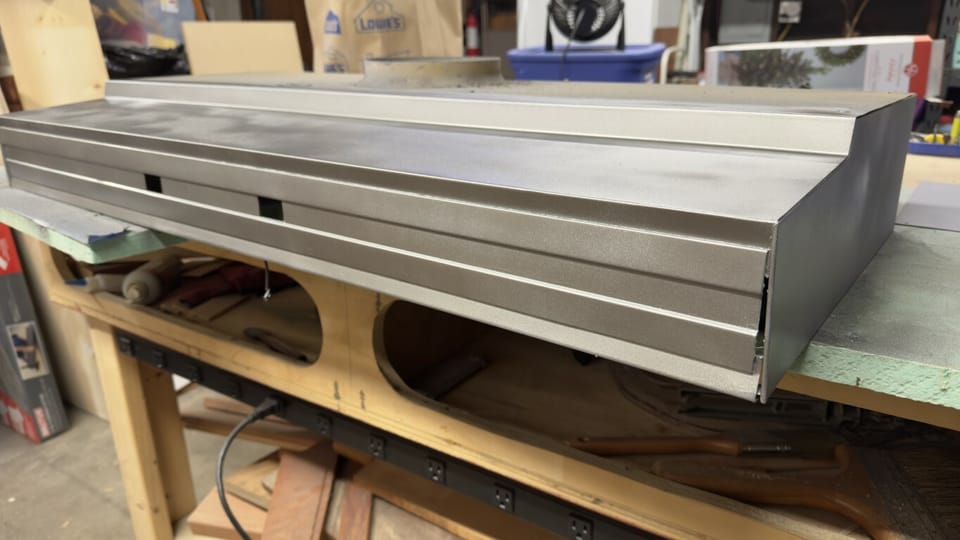
Being the visual person that I am I wanted to measure a few different ways and then cut once.
We got the side walls cut and then started working on the tile. We had our range delivery the next day so we worked fast to get this setup. We ended up reusing the corner tile around along the front edge and puchased some tile for the left and right side of the range. Our plan is to fully replace all of this countertop at some point but for now this will work.
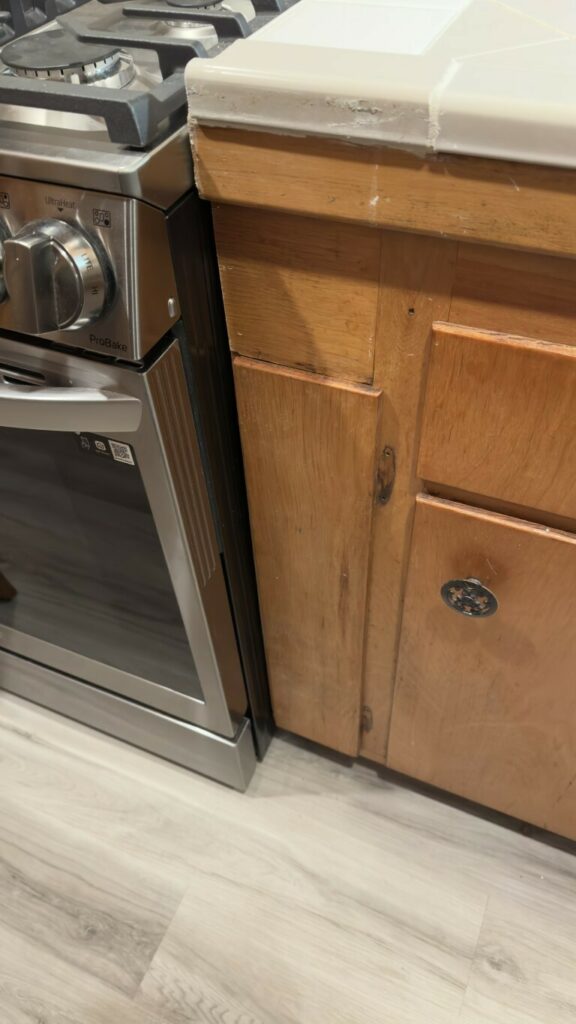
With the range installed and the tile drying we started working on the left and right side of our range to install cookie sheet holders there. We took the double doors we had and cut them down to make these 2 doors on either side. We used the old hardware and got it all installed. This isn’t a full makeover of our kitchen but it did let us get the range as well as these cookie sheet holders installed.
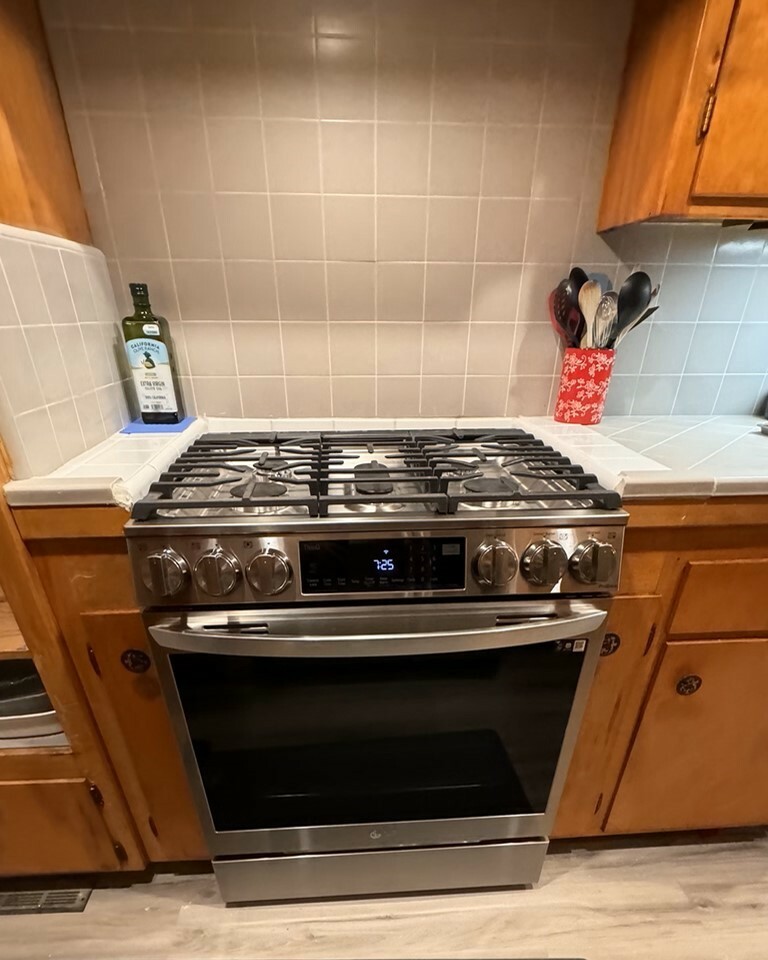
Our new range installed, cookie sheet holder doors installed and things are looking great.
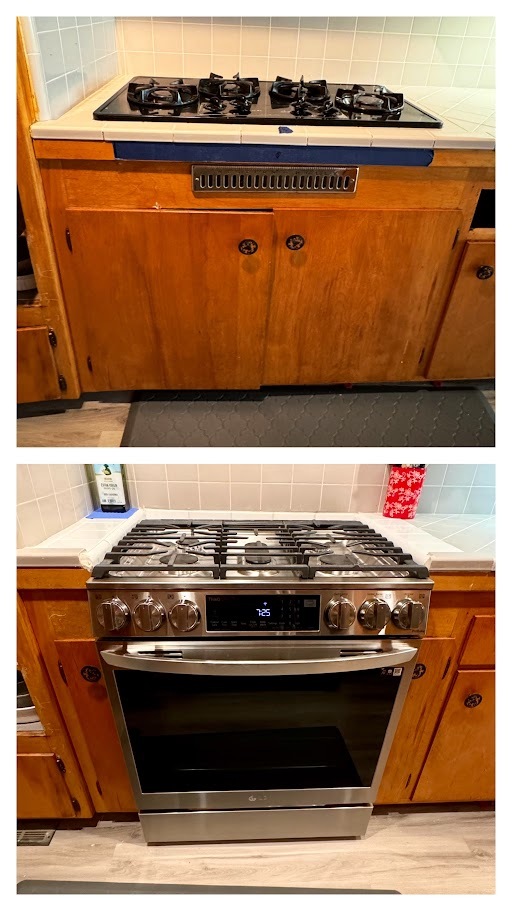
Who doesn’t like a before and after shot? Our range is the 6.3 cu ft. Smart Wi-Fi Enabled ProBake Convection® InstaView™ Gas Slide-in Range with Air Fry So what about the wall oven?
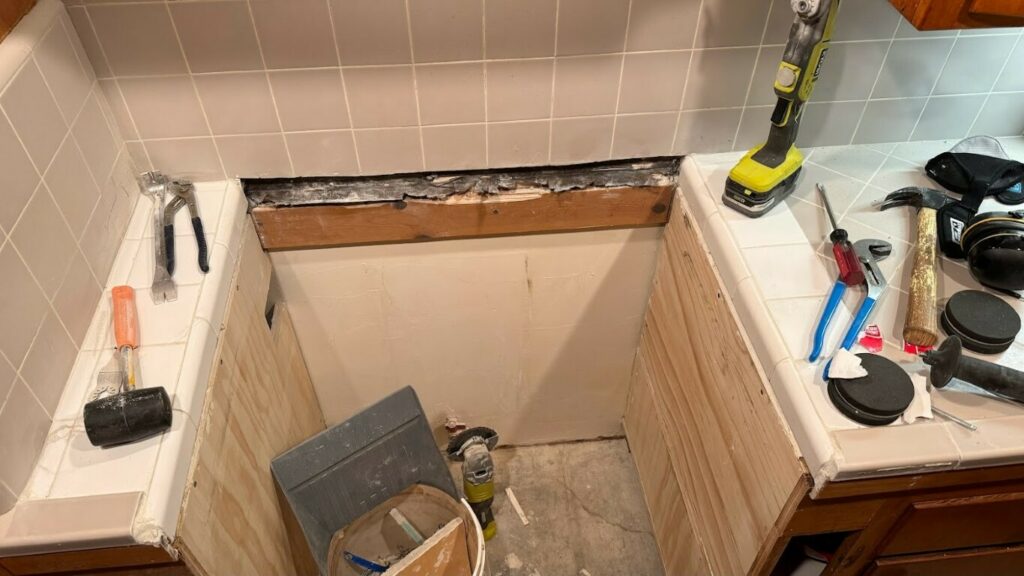
Wall oven to pots and pans storage
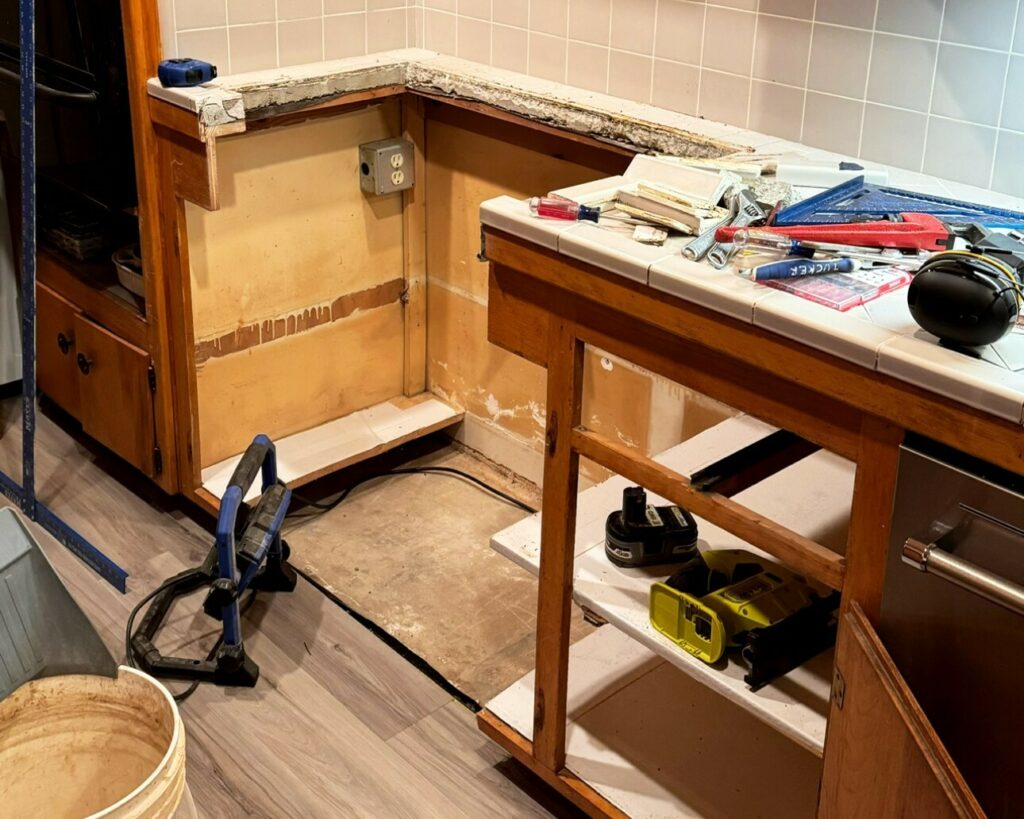
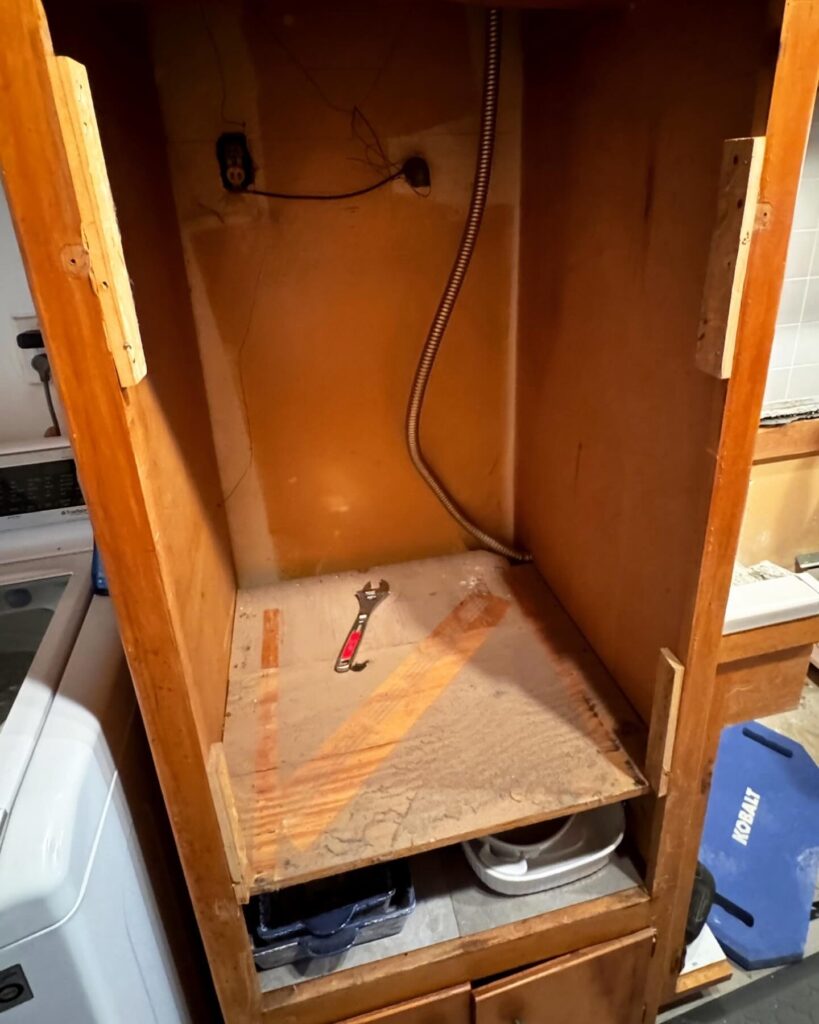
Moving to the cavity that the wall over once resided we did some measurements and began working out what we can do with this space.
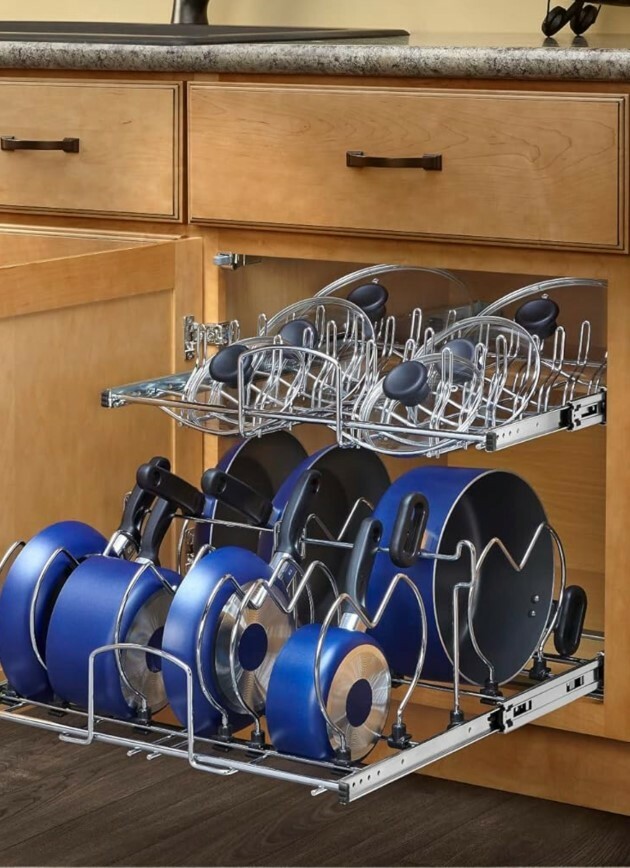
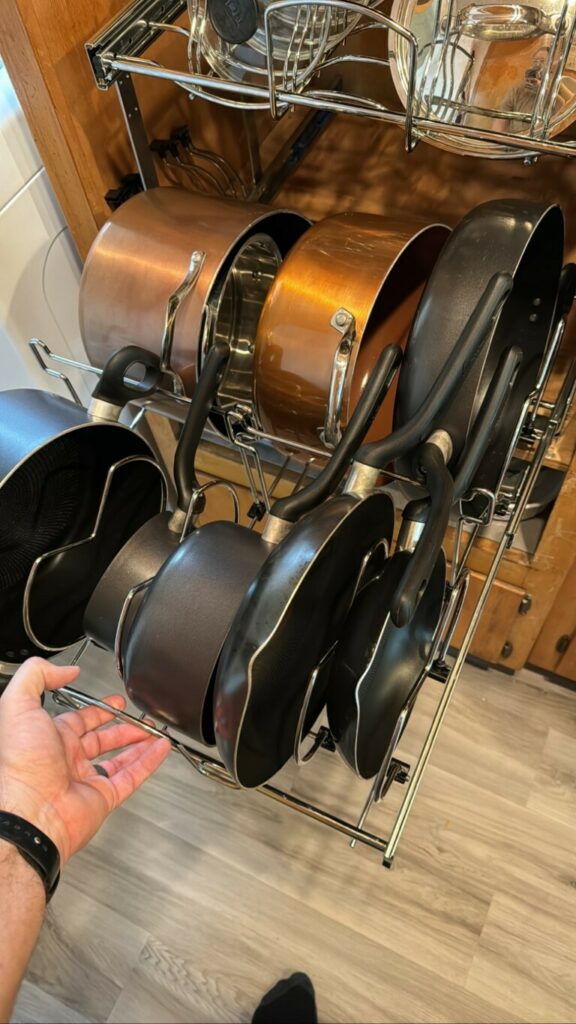
I took some inspiration from the photo and thought this would be a good way for us to store the lids, pots and pans in this cabinet so I got to ordering on Amazon. We went with the Rev-A-Shelf Two-Tier Steel Wire Pullout Cookware Cabinet Organizer w/Soft-Close which gives us the soft close that we want and the ability to add a door on the front for a clean look using this 5WB-DMKIT Door Mount Kit.
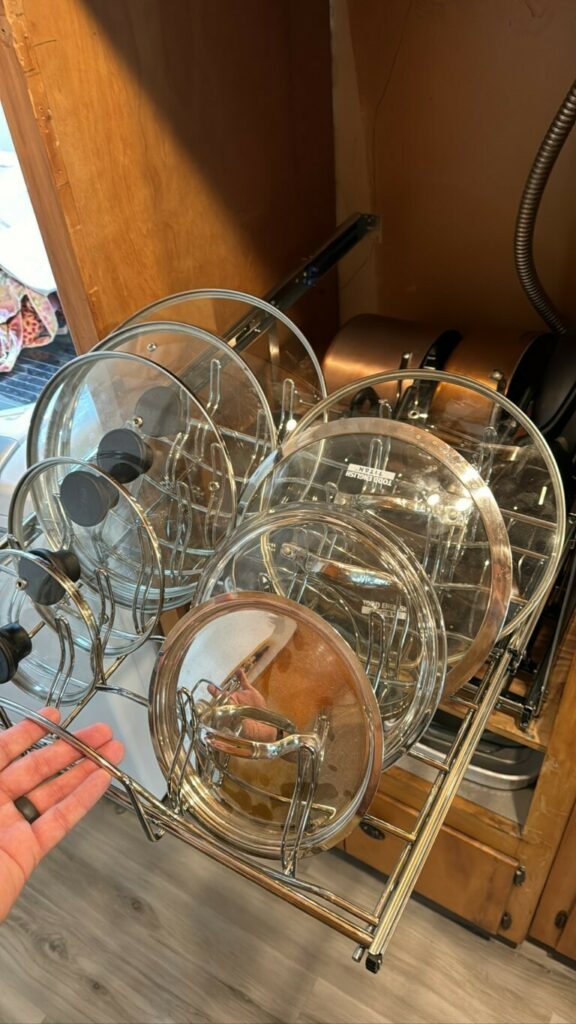
Here is the top and bottom drawers slide out, this worked out really well for us and the width we have to work with is perfect.
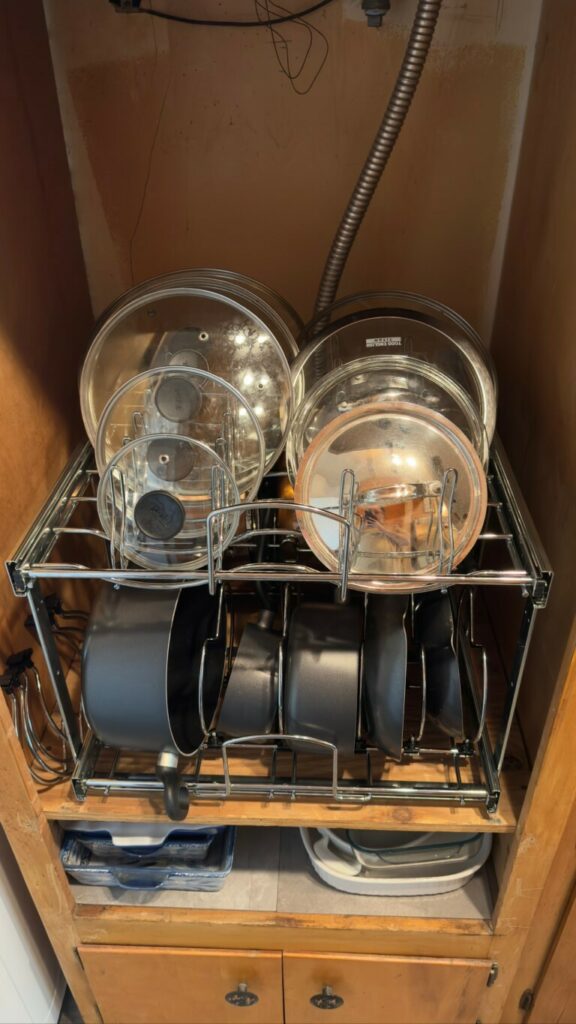
We have more to do in this space with a drawer to be installed above this along with the cabinet fronts to hide it all.
I posted about this project on this Tiktok and Tiktok as well as Instagram
I hope you enjoyed this project and inspired you to not be stuck with what you have, make changes if you can with a bit of willpower, ingenuity and a willing budget to can DIY. Check out our post on Breathing New Life into Our 1960s Hood Vent